User Guide
One Click Demo Import (OCDI) is a free WordPress plugin available on the wordpress.org plugin repository.
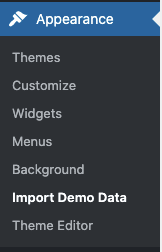
After you install it, you can find the main settings page in Appearance -> Import Demo Data.
Info
If your theme has OCDI integration, the location of the settings page can be changed by the theme author, so please refer to your theme documentation for more information.
Plugin Modes
There are two modes in OCDI: manual import and predefined demos. In manual import mode, you can select which content types you want to import by uploading the appropriate files. While the predefined demos mode will allow you to select one of the demos that the theme authors have prepared. The second mode is only available if the theme authors have integrated their theme with the OCDI plugin.
Predefined Demos
If theme authors have integrated their theme with the OCDI plugin, you will see the OCDI settings page that will look something like this.
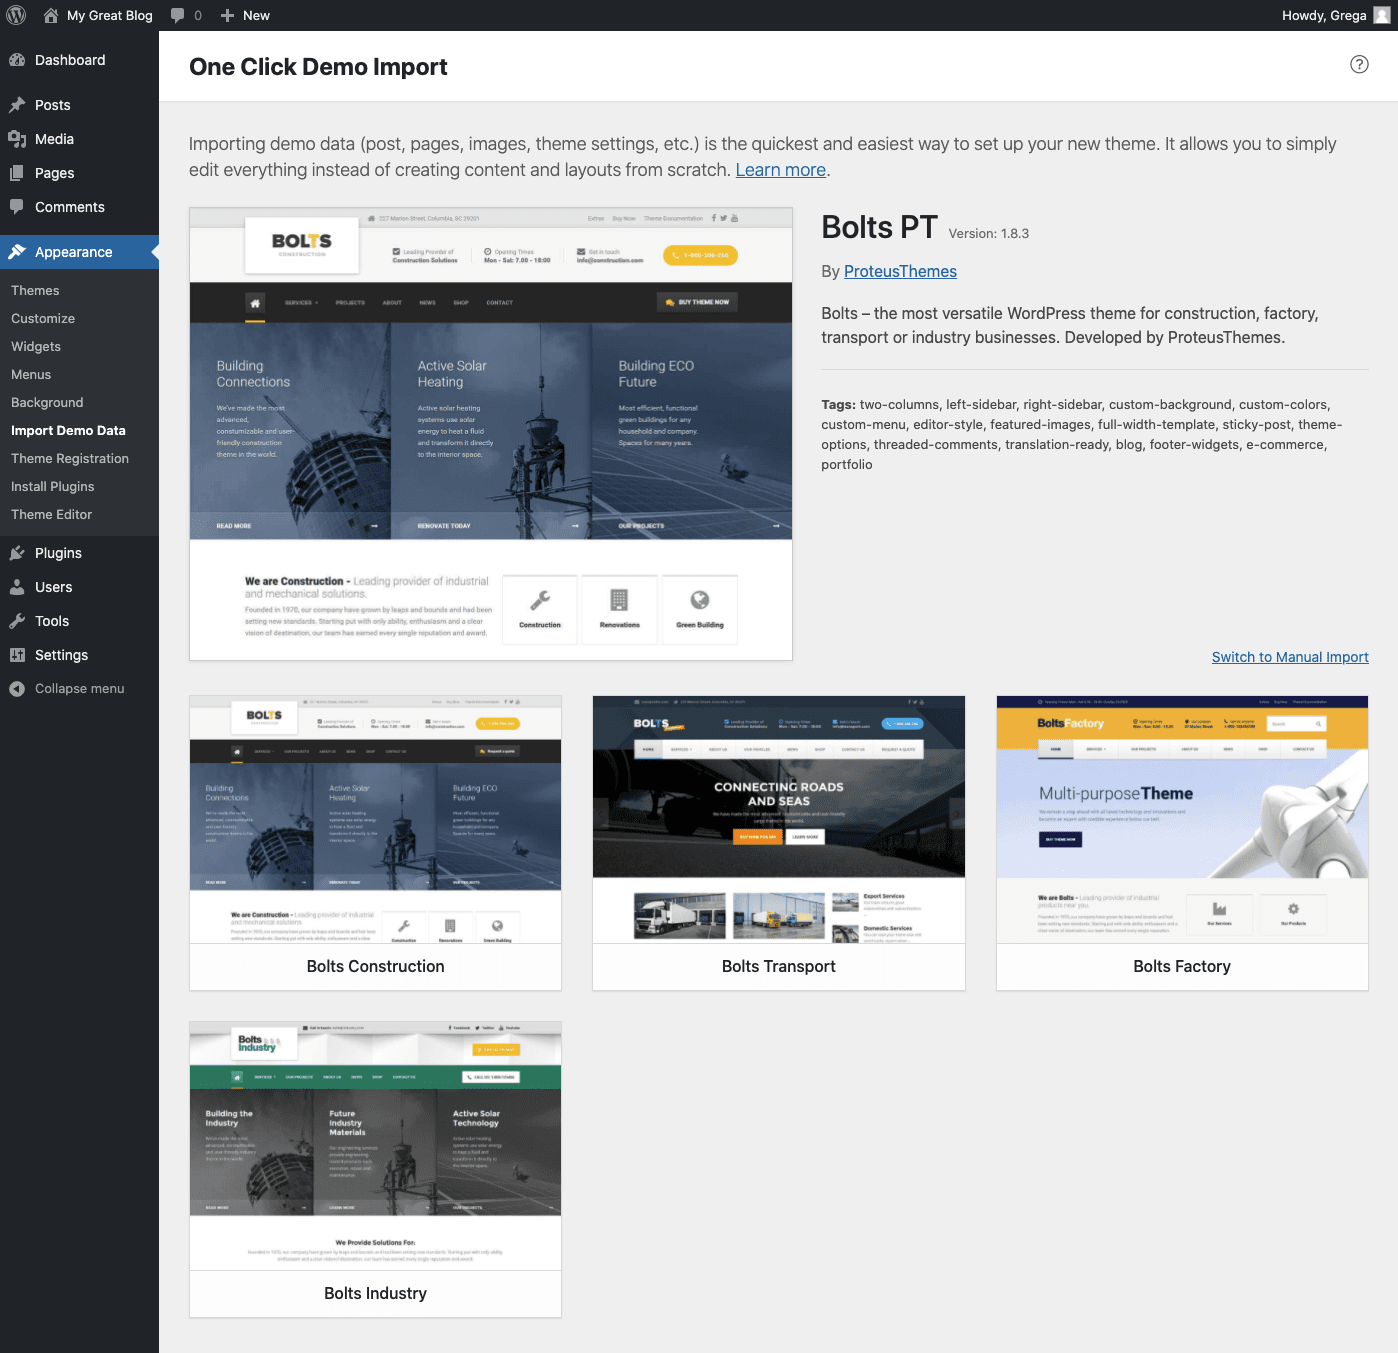
In the example above you can see that the theme has 4 predefined demos. You can hover over each of the demos and preview it or select it for import.
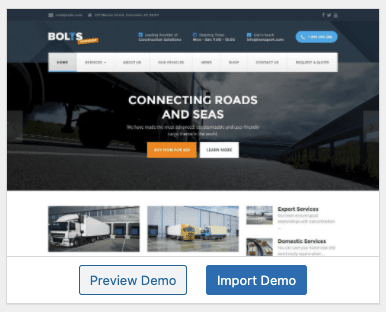
Once you select a demo for import, you will be taken to the next step: Plugin Installation.
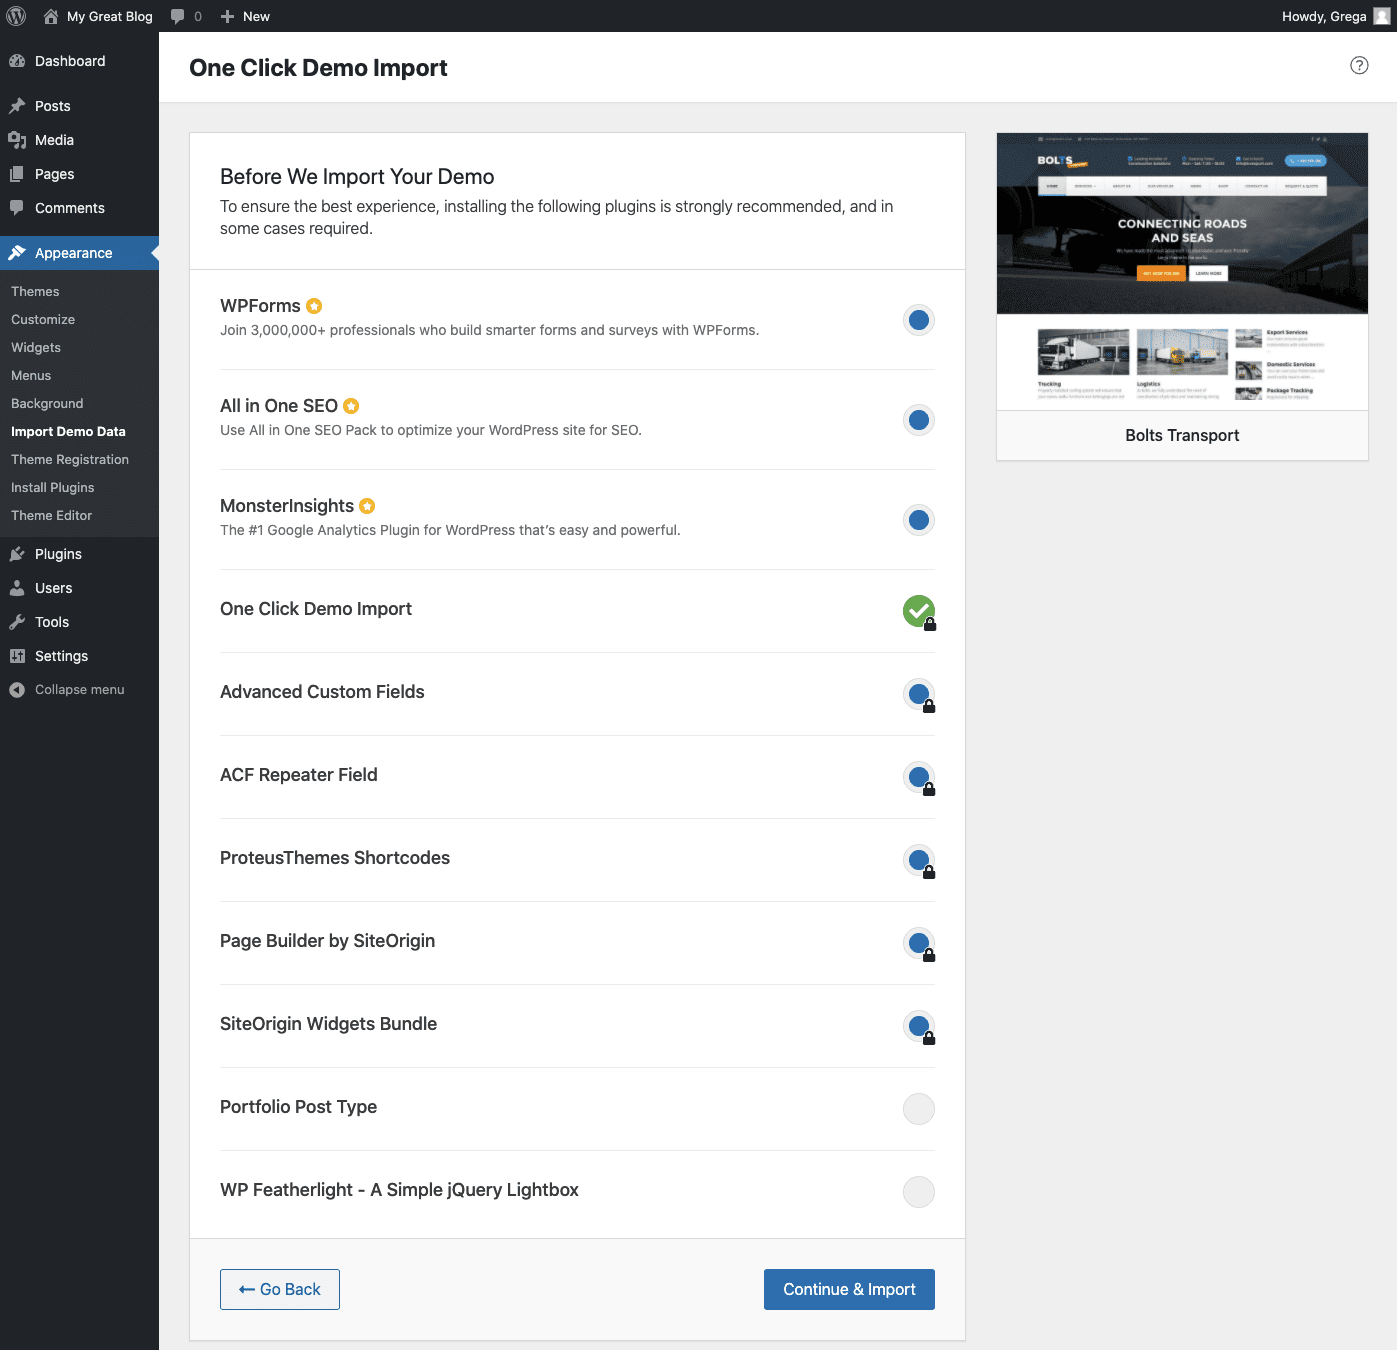
You will be presented with the list of theme’s required and recommended plugins. Required plugins will have a lock icon next to them and they can’t be unchecked. The theme requires these plugins in order to function properly, so they have to be installed before the import process can start. Plugin items without the lock icon are recommended plugins, which you can check/uncheck as you wish. Plugins with a green checkmark are already installed and activated.
Please select the plugins you wish to install and click on the Continue & Import button. Before the actual content import is started, the selected plugins will be installed.
Info
If a plugin fails to install, an error message will be displayed below it and the import process will not start. You can re-select it and try again, by clicking the Continue & Import button. If the problem persists, please install and activate the plugin manually and come back to this step, to continue the import.
After all selected plugins install successfully the importing process will start. Please look at the Importing process section below for more information.
Manual Import
If the theme you are using does not have an OCDI integration you will see the Manual Import page.
Info
Please contact the author of your theme and ask them to integrate OCDI. This would make your import process way easier 🎉
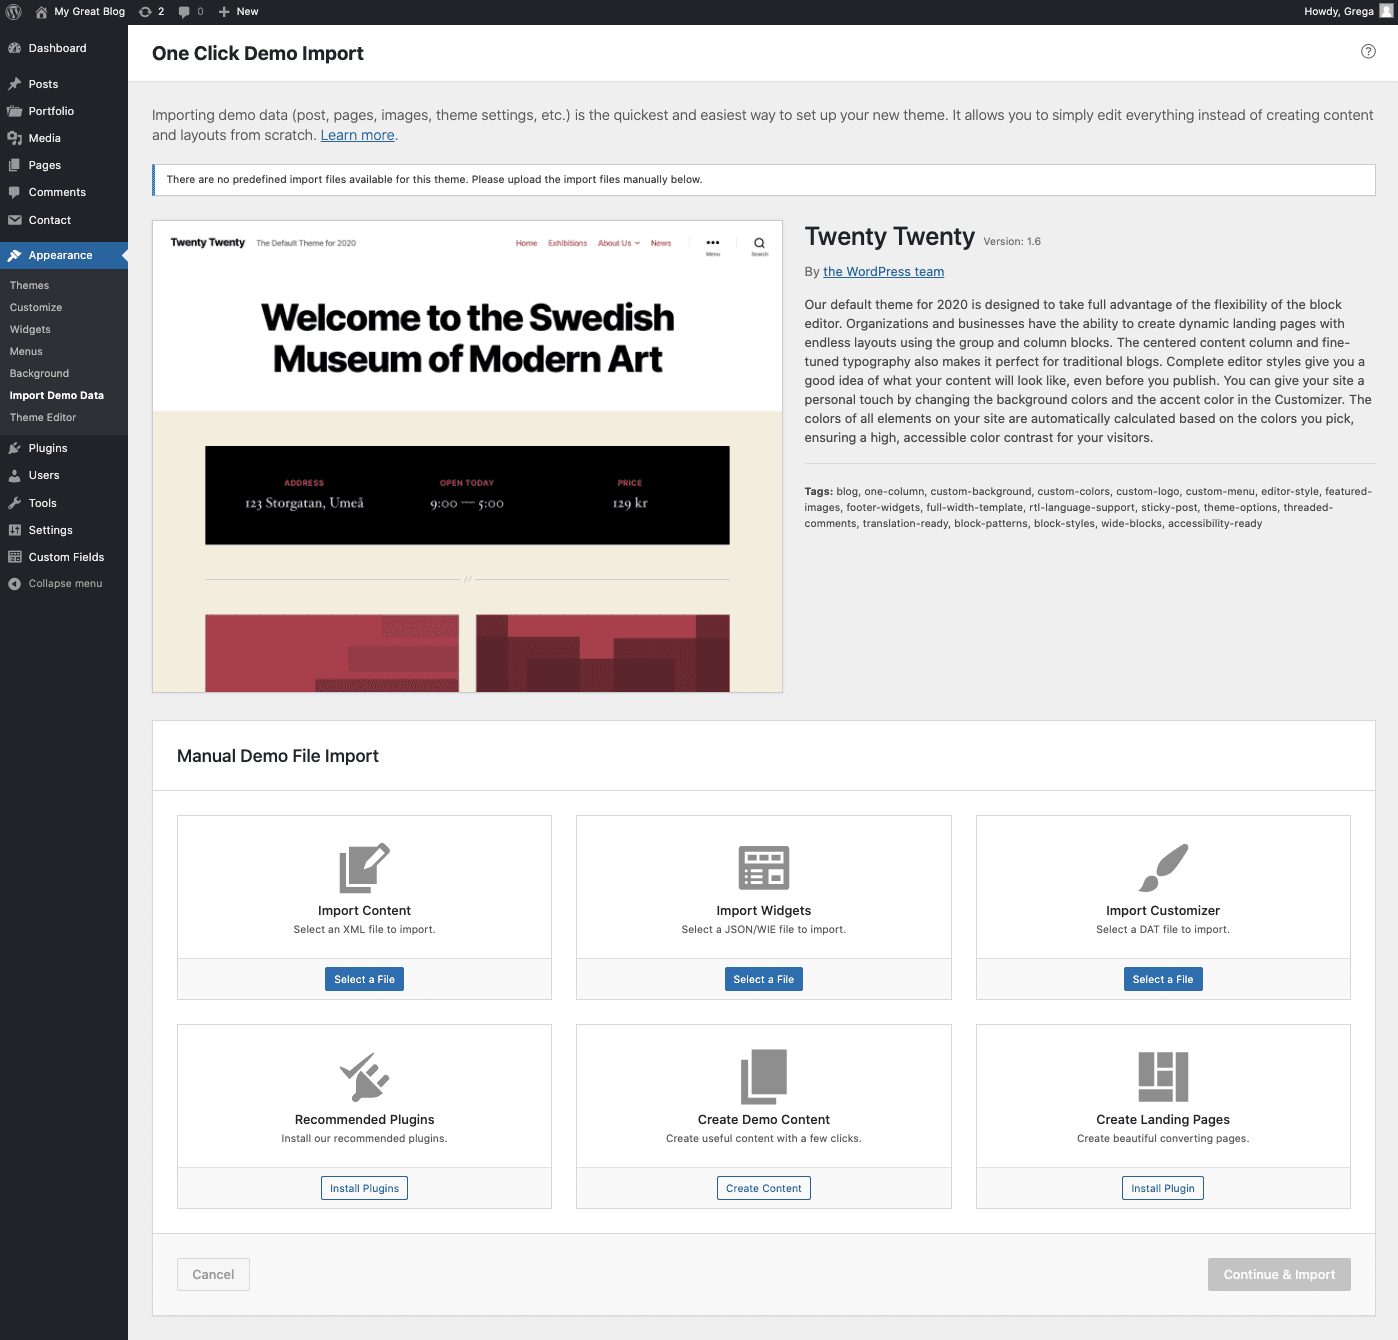
Here you can select files to import different types of content. Once the desired files are selected, you can click on the Continue & Import button. This will take you to the importing process.
Info
If the import files contain data that require some plugins for them to be imported properly, you should make sure that those plugins are installed and active, before importing.
Example #1: an e-commerce plugin that registers a “product” custom post type. If the required plugin is missing, all the custom post types will fail to import, since the custom post type is not registered.
Example #2: if a plugin with a custom widget is not active, the widget import process will fail because the widget does not exist.
Import Content
In the first box, titled Import Content you can select an XML file to import your posts, pages, media files, comments, custom post types, …
The XML import file can be generated by the regular WordPress export process. Log in to the original WP site that you want to import the content from and go to Tools -> Export. The XML file generated on that page can then be used in the OCDI plugin.
Import Widgets
In the second box, you can select a JSON or a WIE file with the widgets data. This file should contain what widgets to import to which widget sidebars. If the current theme does not have the same widget sidebars as the ones in the import file, those widgets will be imported successfully and will be moved to the Inactive Widgets section.
The widgets import file JSON/WIE can be generated with the Widgets Importer & Exporter plugin, by exporting the existing widgets on the original WP site.
Import Customizer
You can select a DAT file to import the customizer settings.
The theme you are importing the customizer settings to, has to be the same theme as the customizer settings were exported from. If the theme does not match, the customizer import will fail.
The DAT file can be exported from the original WP site with the Customizer Export/Import plugin.
Import Redux
If the Redux Framework plugin is active, a fourth import box will be displayed on the manual import page.
In this one, you can select a JSON import file and input the redux option name. The data in the JSON file will be imported to the provided redux option name.
The JSON file can be exported from the original WP site with the Redux Framework plugin.
Recommended Plugins
The Install Plugins button in the Recommended Plugins box will take you to the list of our recommended plugins. Here, you’ll find the best plugins for their respective functionality. You can just select the ones you need and click on the “Install & Activate”.

Create Demo Content
The Create Content button will show you a list of common pages that every website needs. Do you need an awesome Contact page? Do you need a great FAQ page? Select the ones you need and click on the Import button, OCDI will do the rest.
Some of the pages have 3rd party plugin integrations. OCDI will install those and configure the integration. For example, importing the Contact Page will install the awesome contact forms plugin WPForms and create a beautiful contact form that is ready to go for your brand new contact page.
Create Landing Pages
By clicking the Install Plugin button in this last box, OCDI will install the SeedProd plugin and you’ll be able to create high converting landing pages.
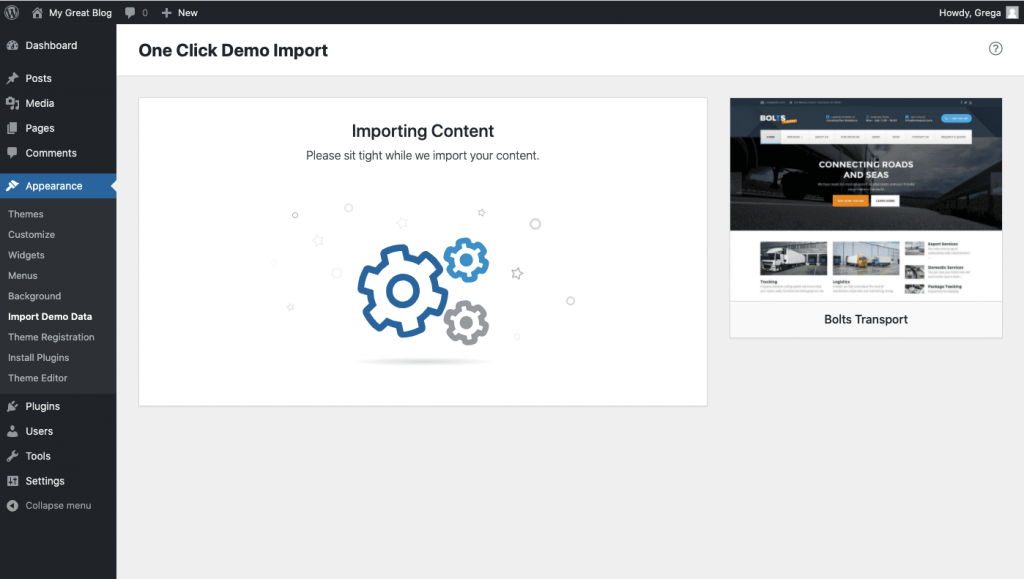
Importing Process
Once you start the importing process, you will see the importing content screen.
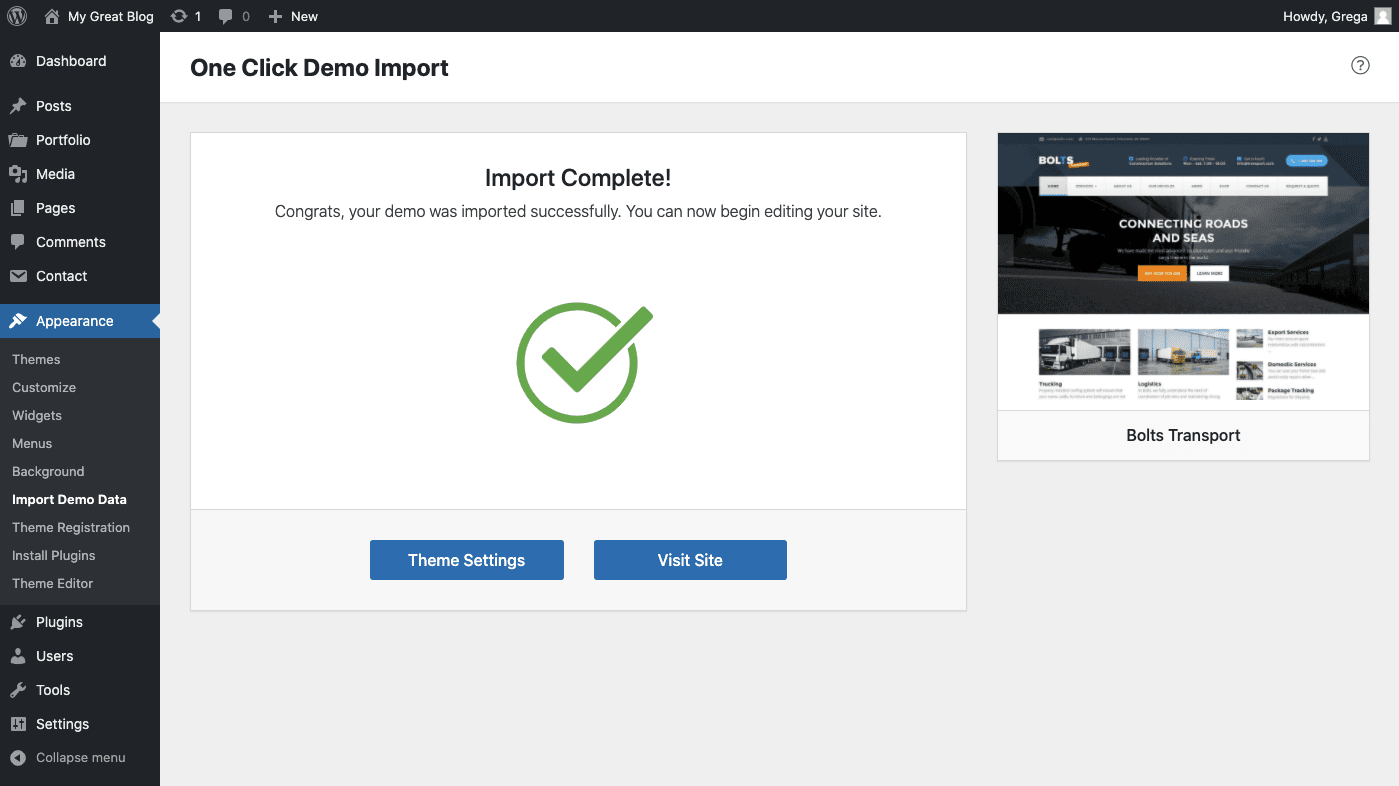
If everything went well you will see the successful Import Complete message.
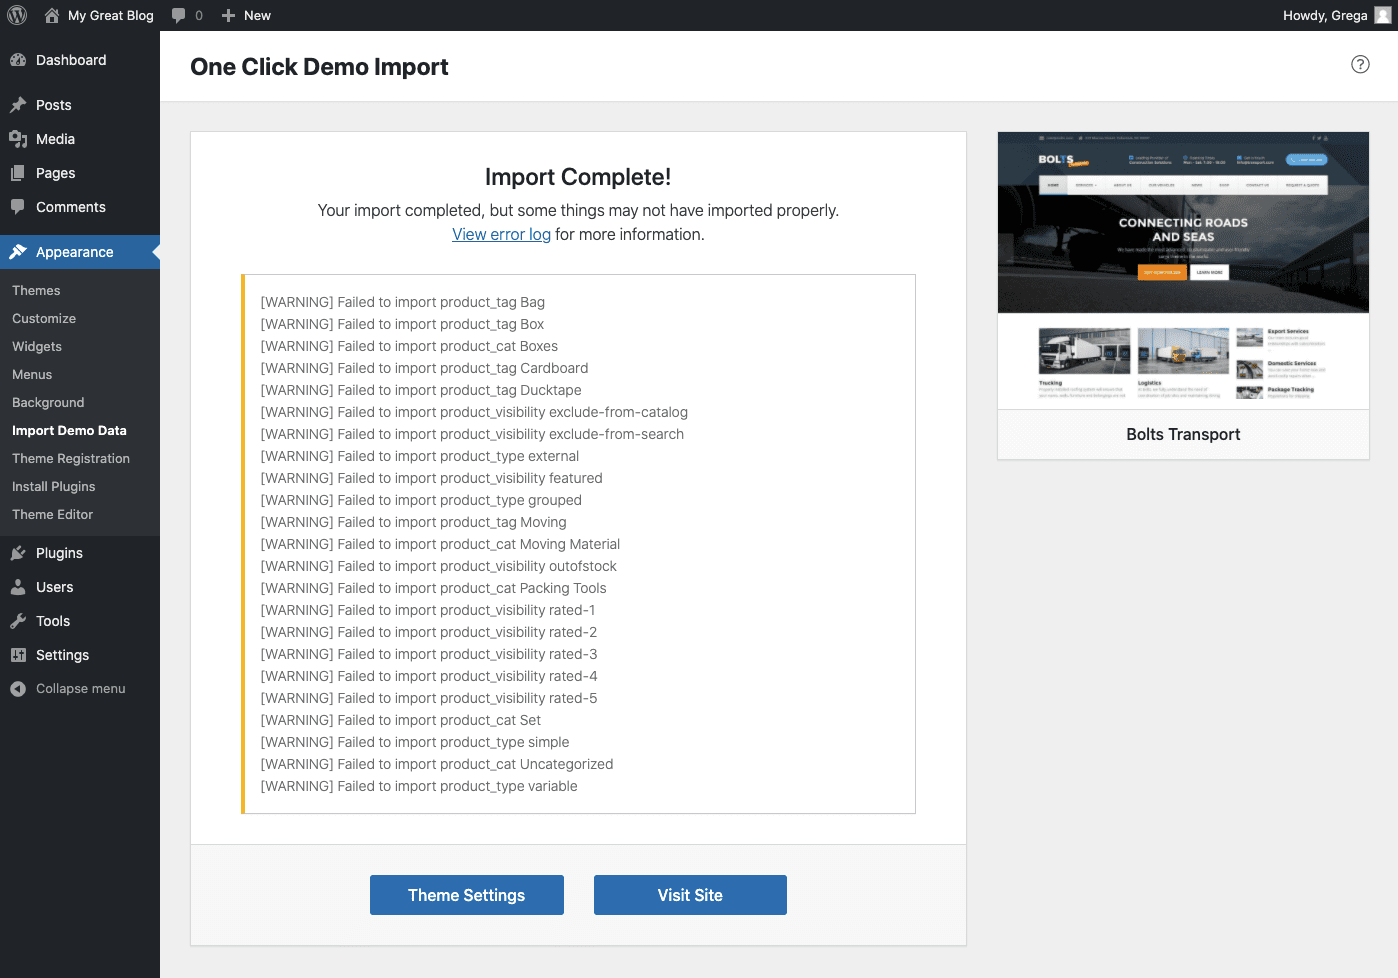
And if there will be any import issues, you will see a warning screen. This means that the majority of the import was successful, but some of the content items could not be imported. The list of those failed items will be displayed on the results page as well as a link to a more detailed error log file. In that file, you’ll find more information on what failed (for each import type: content, widgets, customizer, …), which import files were used, and more.
If you experience any server issues during the import we recommend reading our Import Issues section.